Getting Started
Purchase the Plugin
Purchase the plugin on the Fab Marketplace.
Install the Plugin
After purchasing, install the plugin for your Unreal Engine version through the Epic Games Launcher.
Enable the Plugin
Once installed, the plugin will be available in Unreal Engine under the Plugins section. Go to Edit → Plugins, search for "PloxTools: Google Play Billing", and make sure it is enabled.

Disable Other Billing Integrations
Only one Google Play Billing integration should be active in the project.
Disable any other third-party billing or in-app purchase plugins, as they may add duplicate Billing Library dependencies, Android configuration, or purchase handlers.
Also remove any Google Play Billing dependencies that were added manually to the project.
Note
If your project does not use Online Subsystem GooglePlay, it is recommended to disable it together with AndroidFileServer.
These plugins may add legacy Android dependencies and configuration files that can conflict with the Google Play Billing SDK included with this plugin.
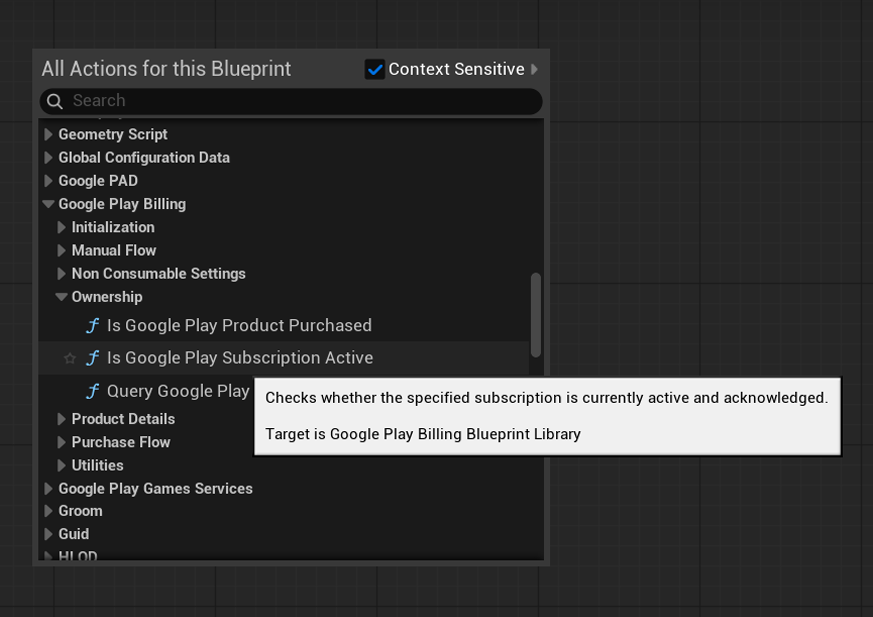
Access Google Play Billing Functions in Blueprints
After the plugin is enabled, its functions are available directly in Blueprints.
To find them:
- Right-click inside a Blueprint graph.
- Search for the required function.
- Open the Google Play Billing category to view the available nodes.
Ready to Use
The plugin is now installed and ready to use in an Android project.
Continue with Basic Usage to initialize Google Play Billing, query product information, and launch a purchase.
Before testing purchases on a device, complete the Google Play Console setup described in Testing.