Spline
Timed Mode

Tethered Mode
The Spline system allows you to create fully controlled and cinematic camera movement directly in the level.
It is designed for situations where the camera must follow a predefined path, enabling precise framing, smooth transitions, and predictable behavior that cannot be achieved with a free gameplay camera.
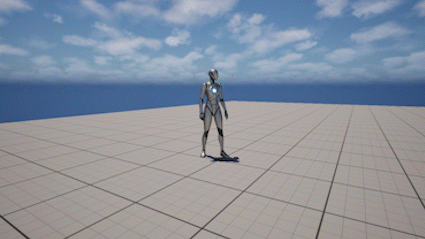
The system is built around a custom Actor: ThirdPersonCameraSplineActor, which uses Unreal Engine’s standard Spline Component.
The camera moves along this spline path, inheriting its position and rotation to produce consistent and directed camera motion.
When a spline is active, it temporarily overrides the gameplay camera and takes full control over camera positioning.
Depending on the selected mode, the camera can either:
- move along the spline over time
- follow the player while remaining constrained to the spline
Using a Spline
The spline camera is based on a dedicated Actor: ThirdPersonCameraSplineActor.
This section shows the basic workflow of creating a spline and using it at runtime.
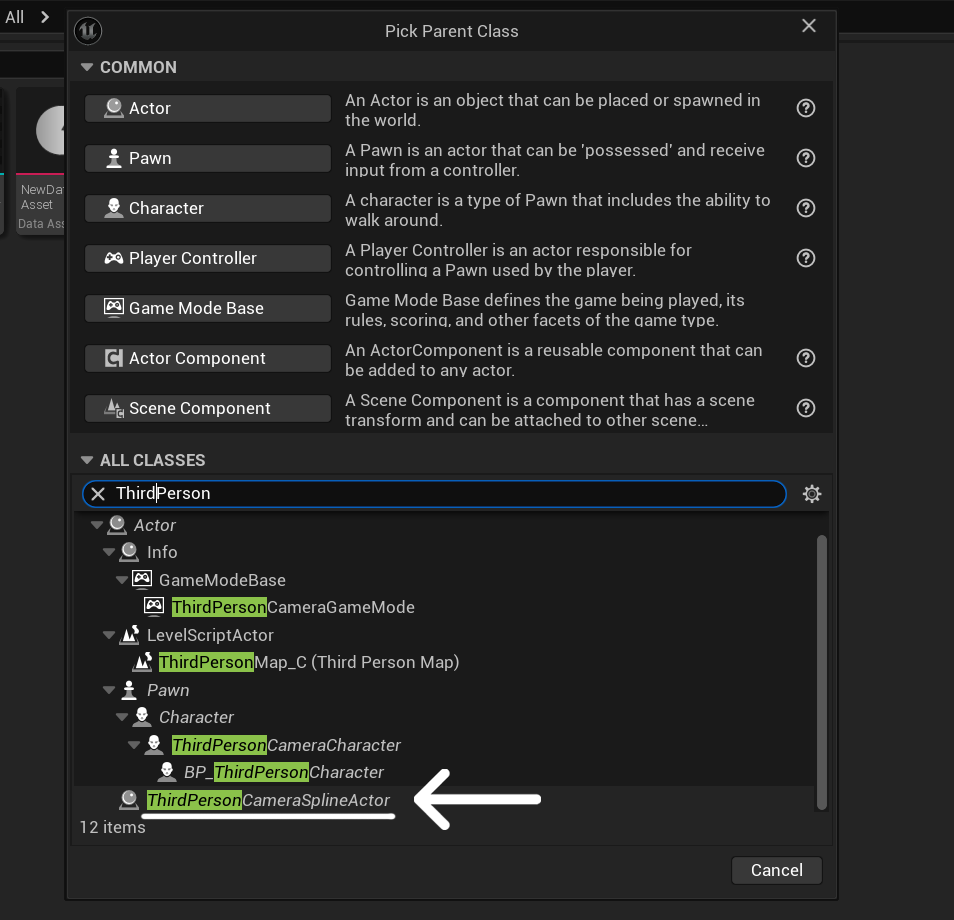
Step 1 - Create a Spline Actor Blueprint
Create a new Blueprint in the Content Browser:
- Right-click in the Content Browser
- Select Blueprint Class
- Find and select ThirdPersonCameraSplineActor
- Save the Blueprint
Step 2 - Place and Shape the Spline
ThirdPersonCameraSplineActor uses Unreal Engine's standard Spline Component, so spline editing works the same way as a regular UE spline.
First, drag the created Blueprint into the level.
To edit the spline in the viewport:
- Click the spline Actor once to select it
- Click the spline again to enter spline editing mode
Once spline editing mode is active, you can select individual spline points by clicking on them.
Spline points can then be edited directly in the viewport:
- move them using the normal Move tool
- rotate them using the normal Rotate tool
- shape the path by adjusting the spline point positions and directions
To create a new spline point:
- Select an existing spline point
- Switch to the Move tool
- Hold Alt
- Drag the selected point
This creates a new spline point and extends the path.
The spline path defines the full camera trajectory and how the camera moves through the scene.
For more detailed information about spline editing, refer to the official Unreal Engine documentation.
Step 3 - Configure Spline Behavior
Spline behavior can be configured at different levels depending on your needs:
- Blueprint settings - define default behavior for all instances
- Placed Actor settings - override behavior for a specific spline in the level
This allows you to reuse the same Blueprint while customizing individual spline instances.
All spline-related settings provided by the plugin are located in the Third Person Camera category in the Details panel.
In addition to that, the underlying spline component also has its own built-in settings from Unreal Engine.
The most important one is:
- Duration (in the Spline section)
This value defines how long it takes to traverse the spline in Timed mode.

In addition to Blueprint and Actor settings, spline behavior can also be overridden at runtime when the spline is played.
When calling Play Camera Spline, you can:
- enable bUseOverrideSettings
- provide OverrideSettings
Runtime overrides allow you to modify spline behavior dynamically without changing the Blueprint or the placed Actor.
This is useful when the same spline needs to behave differently depending on gameplay context.
Step 4 - Reference and Play the Spline
Before the spline can be used, you need a reference to the placed spline Actor.
This can be done in Blueprint by:
- assigning it to a variable
- exposing it as a property
- referencing it from another Actor
Once you have a reference, call Play Camera Spline on ThirdPersonCameraComponent.
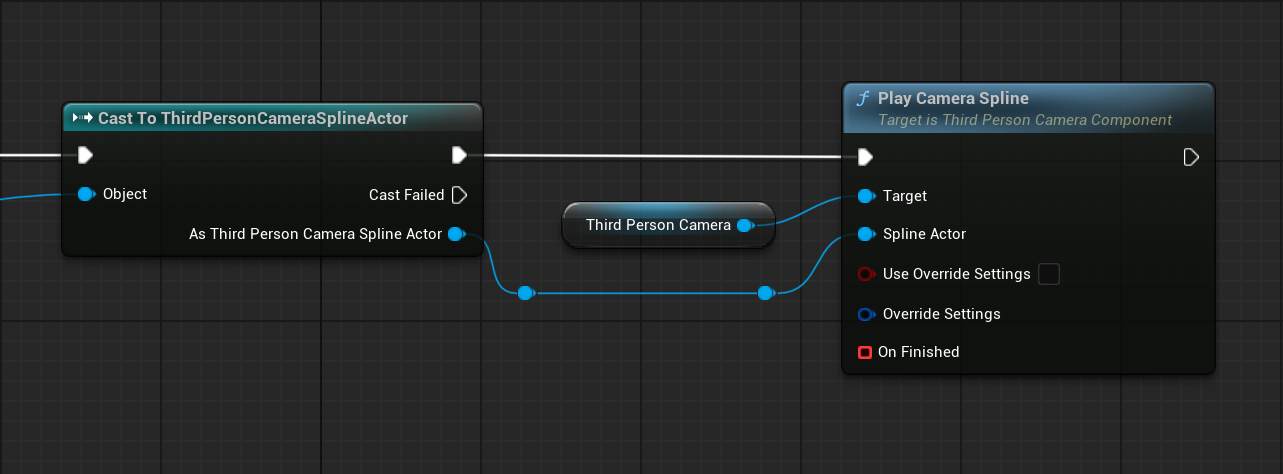
This activates the spline camera and overrides the gameplay camera.
Step 5 - Stop the Spline
If you need to stop the spline manually, call Stop Camera Spline.
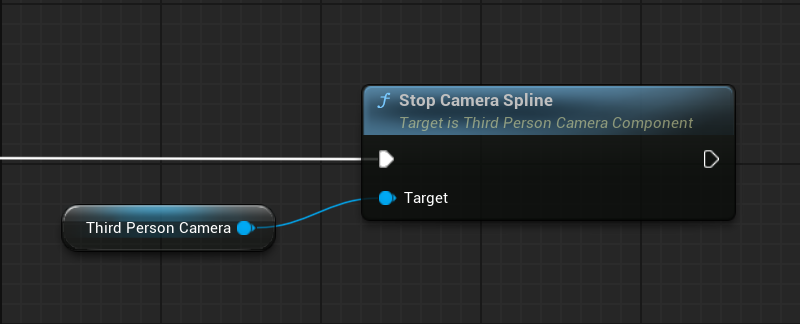
The camera will exit the spline and return to normal gameplay behavior.
Spline Behavior
The sections below describe how the spline camera behaves in detail.
After setting up and playing a spline, these options allow you to control how the camera moves, follows targets, and blends with gameplay.
You can configure these settings:
- directly in the Blueprint
- on the placed spline Actor
- or override them at runtime
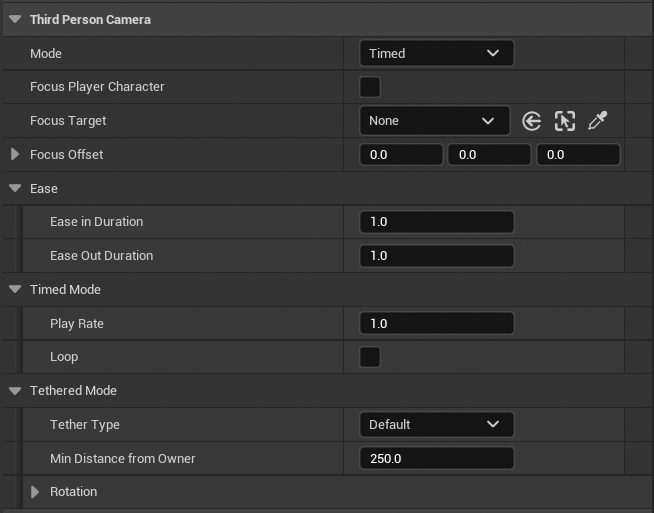
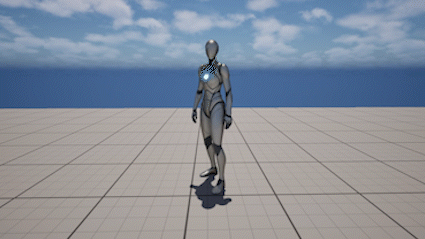
Timed Mode
Timed Mode plays the spline like an animation.
The camera moves along the spline independently of the player.
This is typically used for:
- cinematic sequences
- scripted camera paths
- environmental fly-throughs
Settings
- Mode - set to Timed
- Play Rate - controls playback speed
- Loop - repeats the spline continuously
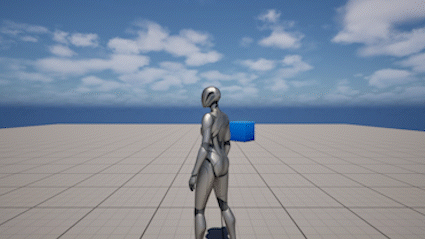
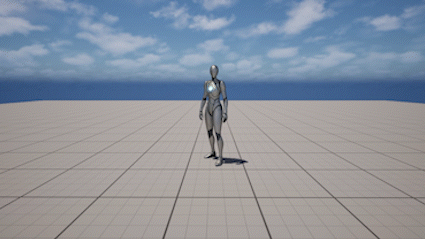
Tethered Mode
Tethered Mode links the camera position to the player.
Instead of moving independently, the camera follows the player while staying constrained to the spline.
The player’s position is projected onto the spline, and the camera moves accordingly.
This is typically used for:
- corridors and tunnels
- side-scrolling sections
- controlled cinematic gameplay
Settings
- Mode - set to Tethered
- Tether Type - defines how distance is maintained
- Min Distance From Owner - minimum distance constraint
Tether Types
Default
The camera follows the player projection on the spline without additional constraints.
Keep Minimum Distance Behind
The camera stays at least a minimum distance behind the player along the spline.
Keep Minimum Distance Ahead
The camera stays at least a minimum distance ahead of the player along the spline.
Keep Minimum Distance Auto
The camera automatically chooses whether to stay ahead or behind the player based on its starting position on the spline, and then maintains at least the minimum distance on that side.
Settings
- Tether Type - selects the behavior
- Min Distance From Owner - defines the minimum distance
Focus
Focus Player Character
The camera rotates to follow the player while moving along the spline.
Focus Target
The camera rotates toward a specific Actor in the world.
Focus Priority
If Focus Target is set, it always overrides Focus Player Character.
Settings
- Focus Player Character - enables player tracking
- Focus Target - specific Actor to focus on
- Focus Offset - offset applied to the focus point
Ease In / Ease Out
Spline transitions are smoothly blended with the gameplay camera.
- entering a spline uses Ease In
- exiting a spline uses Ease Out
This prevents abrupt camera jumps.
Settings
- Ease In Duration - blend time into spline
- Ease Out Duration - blend time back to gameplay camera
Tethered Rotation Soft Lock
Allows limited manual camera rotation while in Tethered Mode.
The player can rotate the camera within defined limits, and the camera will gradually return to the spline rotation when input stops.
Settings
- Enable Tethered Rotation Soft Lock - enables manual rotation
- Tethered Rotation Yaw Limit - horizontal limit
- Tethered Rotation Pitch Limit - vertical limit
- Tethered Rotation Return Speed - return speed to spline
- Tethered Rotation Follow Speed - responsiveness
Runtime Control
The spline system is controlled through runtime functions.
For a complete list of functions and parameters, refer to the API Reference.
Main Functions
- Play Camera Spline - starts a spline camera and optionally applies override settings
- Stop Camera Spline - stops the currently active spline
- Is Spline Active - returns whether a spline camera is active or stopping
Notes
- Spline temporarily overrides the gameplay camera
- Only one spline can be active at a time
- Starting a new spline replaces the current one
- Focus Target overrides Focus Player Character
- Tethered Mode depends on player movement
- Tethered Rotation Soft Lock works only in Tethered Mode